

Three illustrations can share the same colors and still look as though they belong to different publications. Line weight, perspective, facial detail, and the amount of empty space all influence whether readers recognize a series.
A useful starting point is one approved reference image and a short visual brief. Each companion image then needs a distinct action, a focused prompt, and a review against that reference.
This walkthrough develops a three-part series about working from home: planning the day, managing interruptions, and finishing work. You can adapt the prompts for GPT Image 2.6 on PWZ, using an uploaded illustration to guide subsequent images.
The accompanying artwork was generated with ChatGPT’s image tool to illustrate the workflow. The prompts below are adapted templates for readers to try, with no claimed GPT Image 2.6 test results.
Define what should connect the images
Write down a few visible characteristics before generating the first scene.
| Element | Direction for this series |
|---|---|
| Palette | Warm ivory, muted teal, terracotta, dark navy |
| Outlines | Thin, even, dark navy |
| Texture | Subtle paper grain |
| Character | Short dark hair and a muted teal sweater |
| Furniture | Simple light oak desk |
| Composition | One focal action with space around it |
These choices are specific enough to review side by side. Keep the aspect ratio consistent and record the selected model and quality settings.
For this series, the subject changes while the character, materials, and visual treatment provide continuity.
1. Establish the reference with a simple action
The first illustration shows someone arranging three task cards. The limited number of objects makes the scene easy to inspect.
Starter prompt
Create a landscape editorial illustration about planning a working day. Show one person with short dark hair and a muted teal sweater seated at a light oak desk, arranging exactly three blank rectangular task cards in a horizontal row. Give each card a clear outline and a visible gap from its neighbors. Use a warm ivory background, terracotta accents, thin even dark navy outlines, and subtle paper grain. Keep the background simple and leave comfortable margins around the subject. Render all surfaces without lettering.
Before adopting the result as the reference, check the card count, hand shapes, and clarity of the action.
In the accompanying example, the three cards are separate and easy to identify. However, the lower body and desk legs extend beyond the frame. That crop may suit an article illustration, but a layout requiring the complete figure would need a wider composition.
Save the approved source image and its prompt together.
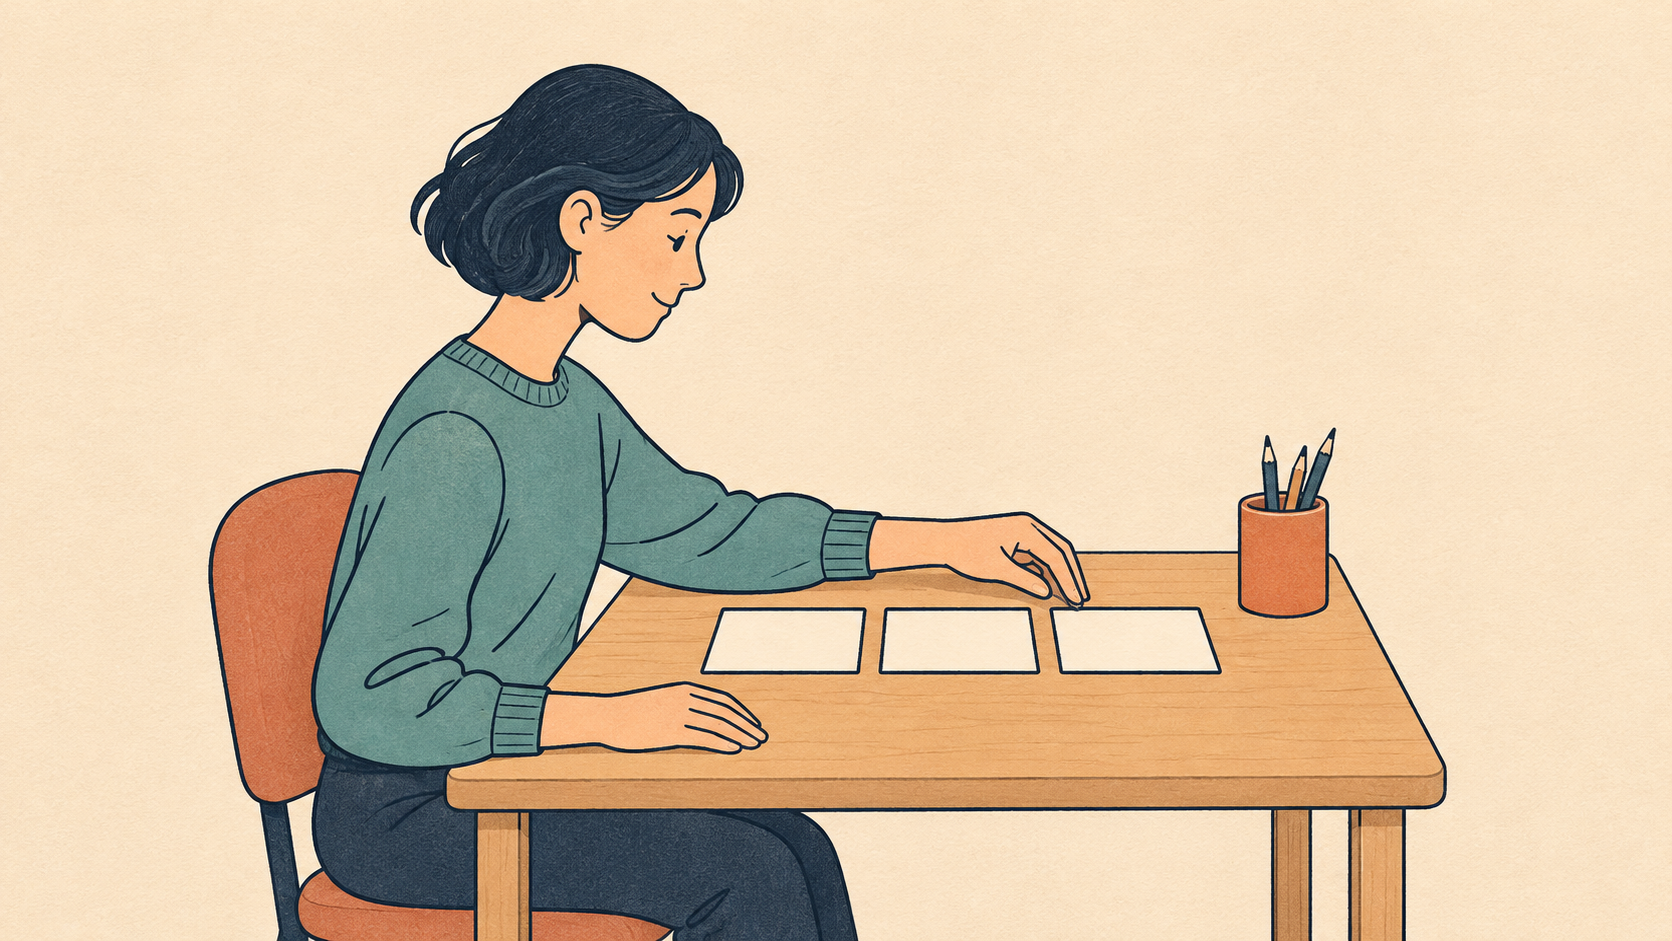
Image caption: Planning the day. Three separate task cards establish the scene’s focal action.
2. Use the reference for a different scene
Upload the approved first image and describe the second illustration’s action explicitly.
Starter prompt
Use the uploaded illustration as the character and visual style reference. Match the short dark hair, muted teal sweater, warm ivory background, light oak desk, terracotta accents, thin dark navy outlines, and subtle paper grain. Create a companion scene showing the seated person placing a smartphone face down beside a closed navy notebook. Use a terracotta phone case and make the rear camera details visible. Keep the hand gesture simple and the phone clearly distinguishable from the notebook. Leave generous space around the scene and keep all surfaces free of lettering.
Review both images at equal display sizes. Compare the face, clothing, outlines, texture, and desk proportions.
The example retains a similar character and setting. The visible camera details help explain that the phone is face down. At small sizes, however, the scene could also read as someone reaching for the phone. The article heading and caption should provide that context.
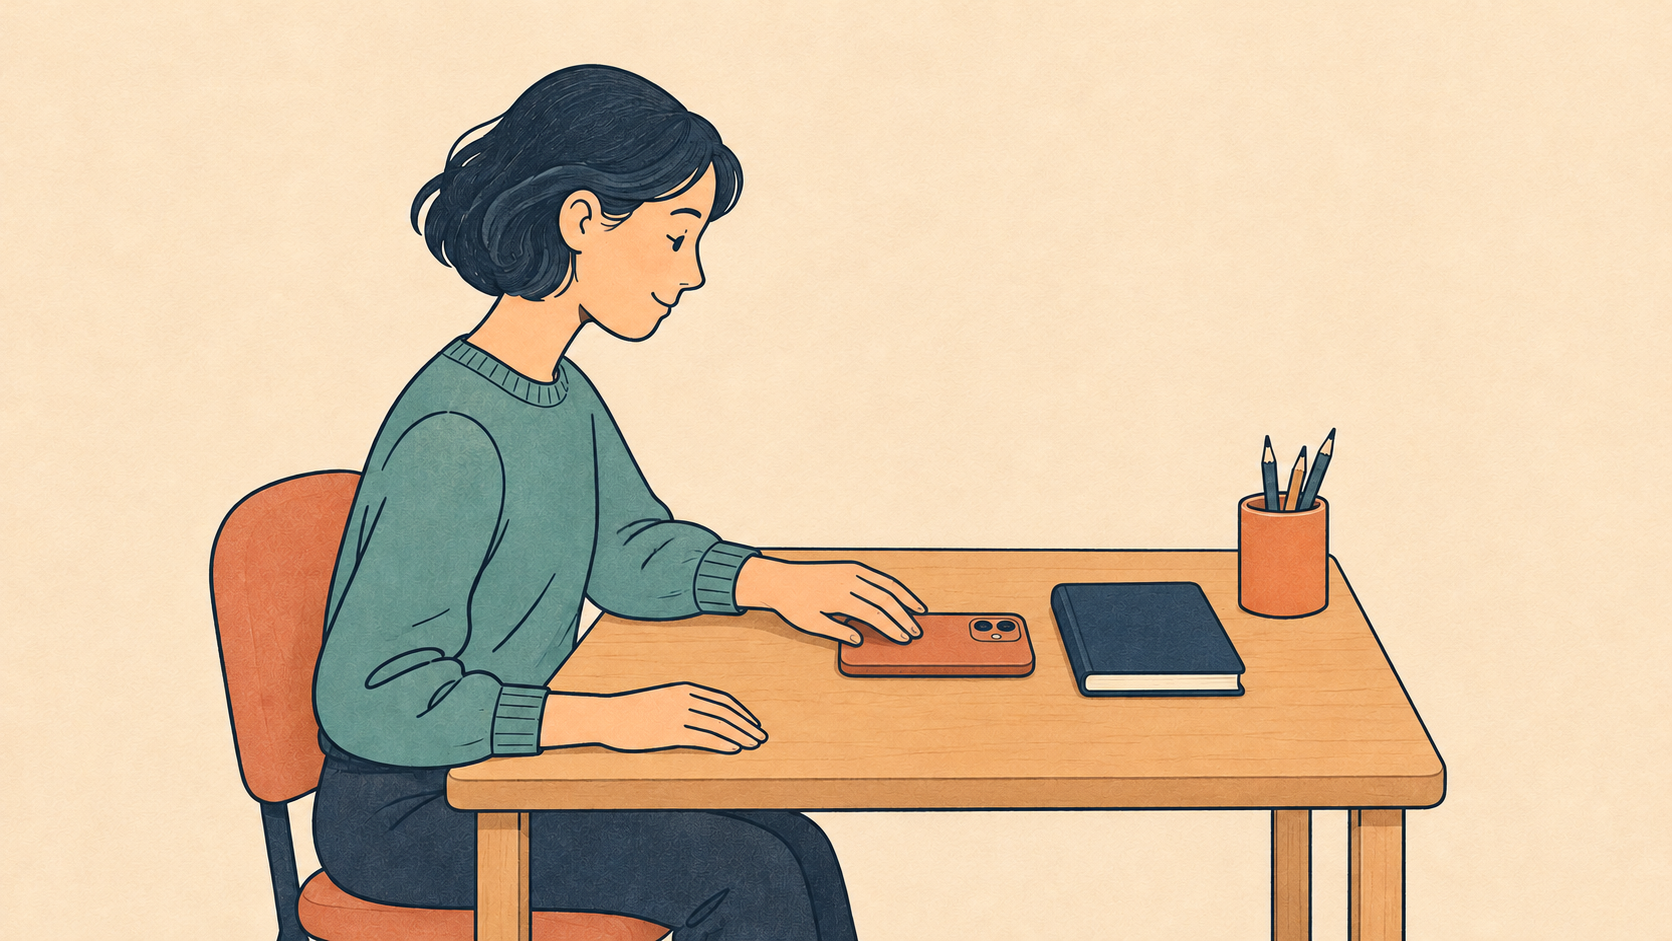
Image caption: Managing interruptions. The phone’s rear camera details make its face-down position visible.
3. Change the silhouette for the final illustration
A third seated scene could make the series repetitive. Use a standing pose to communicate the end of the working day.
Upload the original approved reference again so that this scene has the same starting point as the second image.
Starter prompt
Use the uploaded illustration as the character and visual style reference. Show the same person standing beside the light oak desk in a simple side view, with one relaxed hand resting on a fully closed navy laptop. Let the other arm hang naturally. Include the terracotta chair slightly pulled away from the desk and a small terracotta pencil cup. Show the complete standing figure and desk with comfortable margins. Match the warm ivory background, muted teal sweater, thin dark navy outlines, and subtle paper grain. Keep surfaces free of lettering.
The example’s standing silhouette distinguishes it from the first two scenes. Its wider framing also makes the character smaller. Review the set in the actual publication layout before deciding whether that variation works.
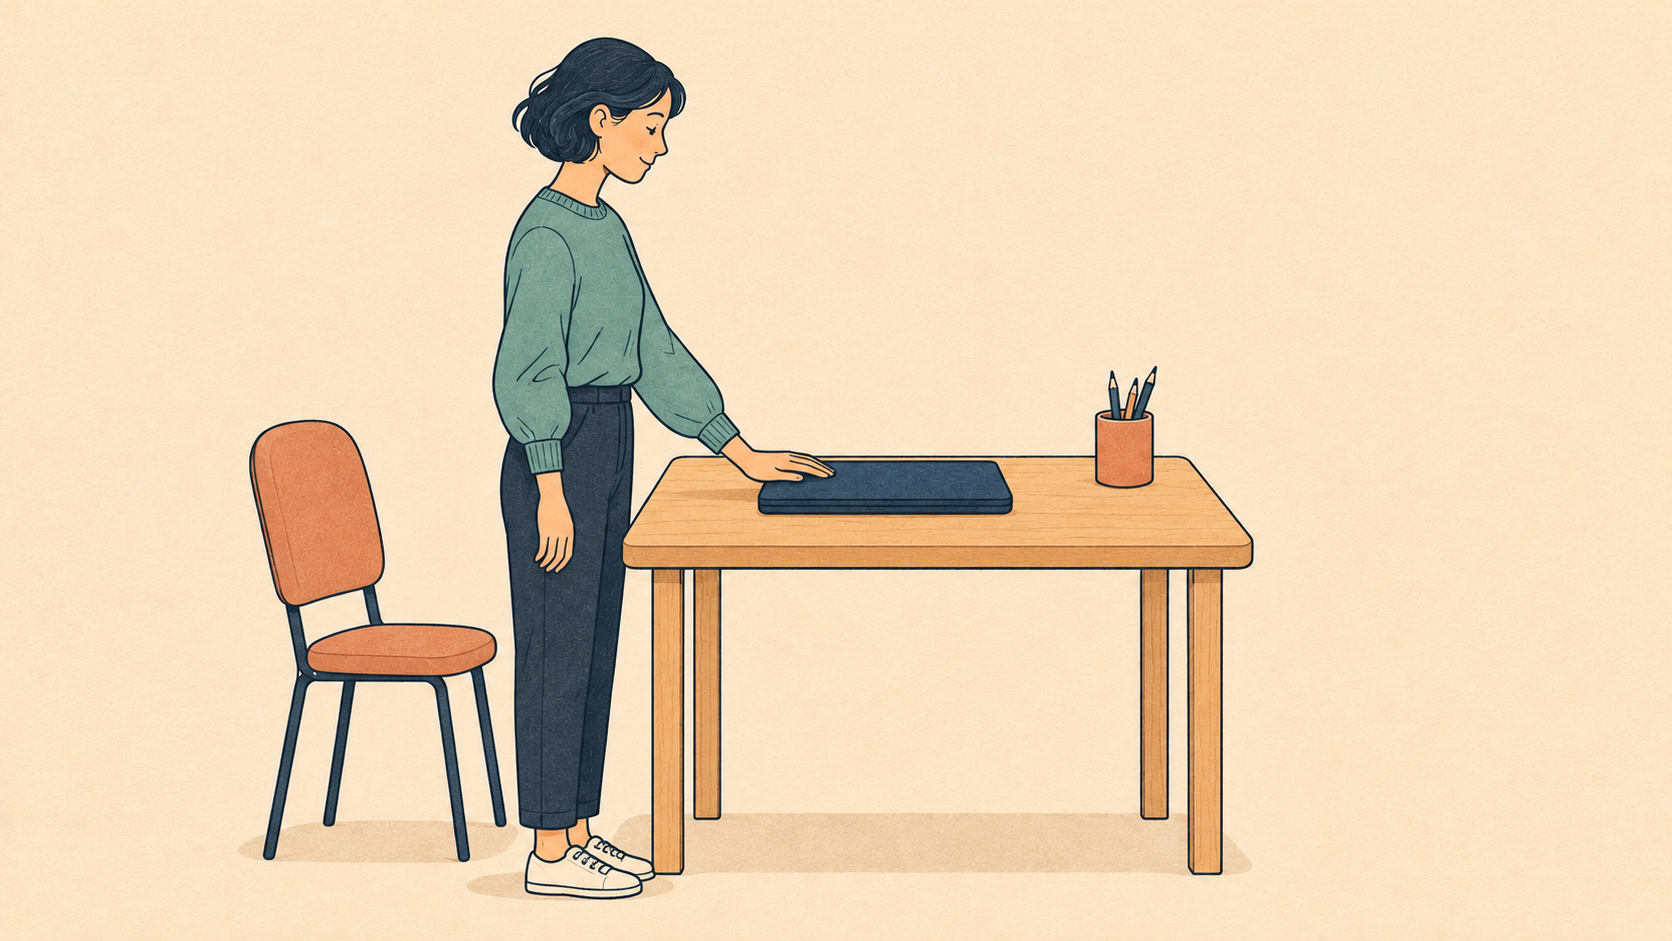
Image caption: Finishing work. A standing pose and closed laptop distinguish the final scene.
Request one correction at a time
If the phone becomes difficult to recognize in a preview card, make that the next editing task.
Edit the illustration to make the phone more visible at thumbnail size. Enlarge it slightly and strengthen the contrast between its outline and the desktop. Preserve the person’s pose, notebook, composition, palette, and paper texture.
Inspect the whole image after the edit. Nearby hands and objects may also change.
If a minor correction repeatedly damages a usable candidate, return to the earlier image and consider completing that adjustment in a design editor.
Approve the series in context
Place the three images into the article layout and inspect their preview crops.
Check that each action remains readable, that the character and drawing style feel connected, and that important objects survive cropping. Allow room for deliberate variation, such as the wider framing needed for a standing figure.
Keep a short record for each approved image: prompt, reference filename, settings, observed issue, and decision. The next illustration can then begin with the same reference and concrete review criteria.




Top comments (0)