
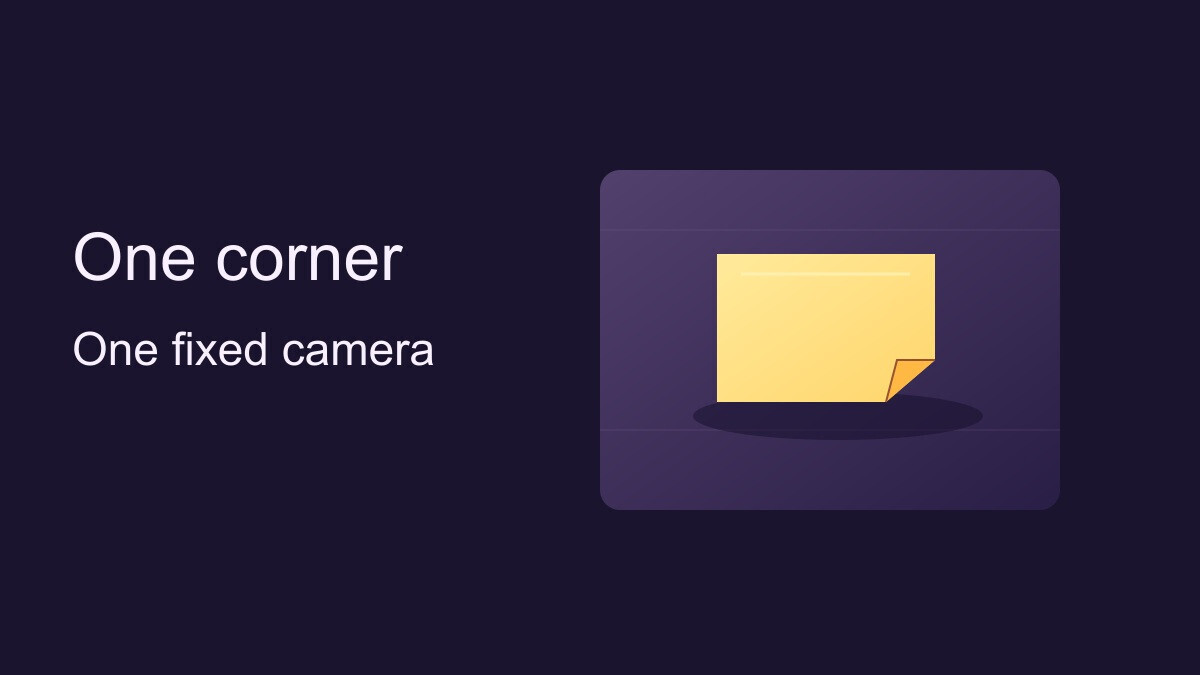

The brief sounds simple: a sticky note lies on a desk, and a breeze lifts one corner. But “a sticky note flutters in the wind” leaves several decisions open. Should the whole note slide? Should the camera follow it? Should the background move too?
An image-to-video prompt is easier to revise when you separate the action from what must stay fixed. Here’s a five-second example built around one movement.
Choose the part that moves
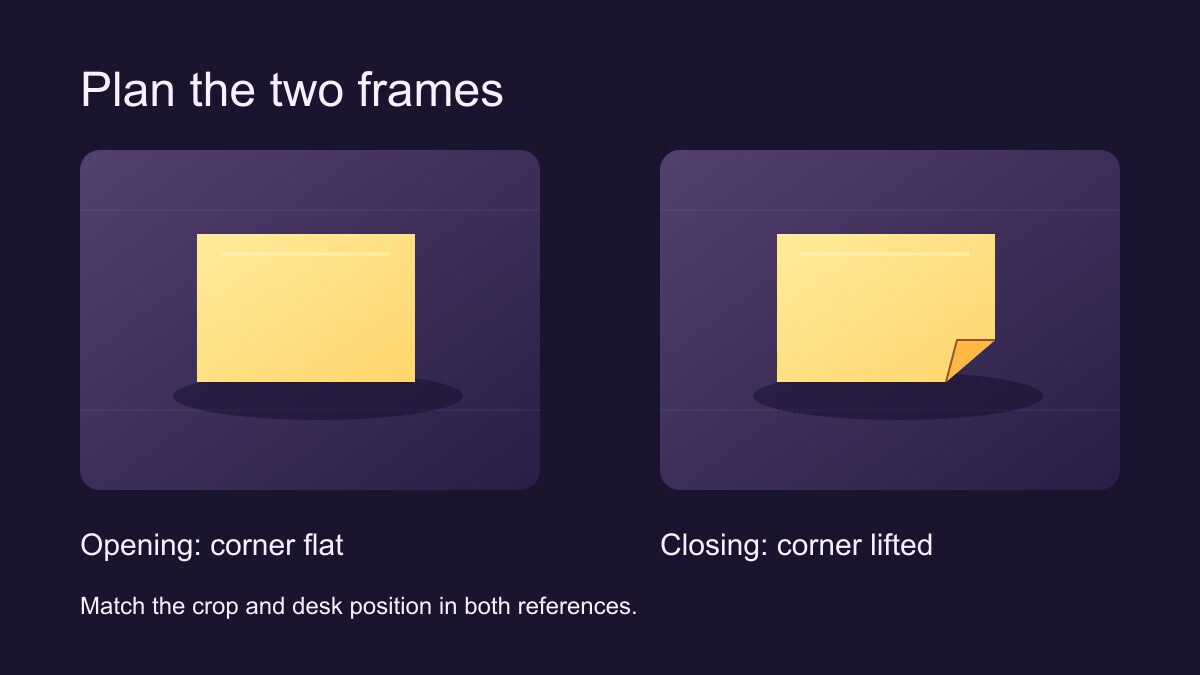
Imagine a yellow sticky note on a matte desk. Its top edge is attached, and the lower-right corner is free. The shot starts with the note flat and ends with that corner slightly raised. Keep the desk edge or another fixed detail in frame so you can spot camera drift later.
For an opening and closing image pair, take both photos from the same position with the same crop and lighting. Lift the corner for the second photo without sliding the rest of the note. If you need a prop to hold the fold, keep it out of frame. The diagram below is a plan, not an image pair to upload or a generated result.
Write the action, anchors, and camera separately
Try this prompt as a starting point:
A light breeze slowly lifts the lower-right corner of the yellow sticky note. The corner ends slightly raised. The top edge stays attached and the rest of the note stays in its original position. The desk, background, and lighting stay fixed. The camera holds the same framing throughout, with no pan or zoom.
Each part serves a different purpose:
Action: Name the exact corner, the direction of movement, and where the action ends.
Anchors: Name the paper edge and surroundings that should stay put.
Camera: State that the framing stays fixed. Avoid adding “cinematic push-in” or another instruction that contradicts it.
The same pattern works for a ribbon tip or a loose thread: specify a small motion, identify an anchor, and name the view you want to preserve. Treat these as instructions the model may follow, not controls that guarantee a result.
Try it with your references
For a trial, open the VO4 AI free image-to-video tool. To guide both endpoints, upload the flat-corner image first and the raised-corner image second. Enter the prompt, choose an aspect ratio that suits the references, and generate. The page lists five seconds and 480p for this free workflow.
Prepared for VO4 AI promotion; fictional illustration, no generation test claimed.
Change one thing after you watch
Preview the whole clip, then compare the opening and closing frames. Use the desk edge as your reference point:
The desk stays put but the whole note slides: Check that the note occupies the same position in both reference images. If it does, try a smaller movement and make the attached top edge explicit. Keep the images unchanged while you test that prompt edit.
The desk edge moves or the framing gets tighter: Compare the two source crops first. If they match, change just the camera instruction to “Locked camera, same crop throughout.” Remove any conflicting movement language.
The corner stretches or changes shape abruptly: If the closing image shows a large fold, try a smaller one and keep the prompt unchanged. That makes it easier to tell whether the revised reference helps.
If a change makes no difference, undo it before trying the next one. A usable take is one where the corner moves and the fixed landmarks still look right—not simply the clip with the most motion.



Top comments (0)