
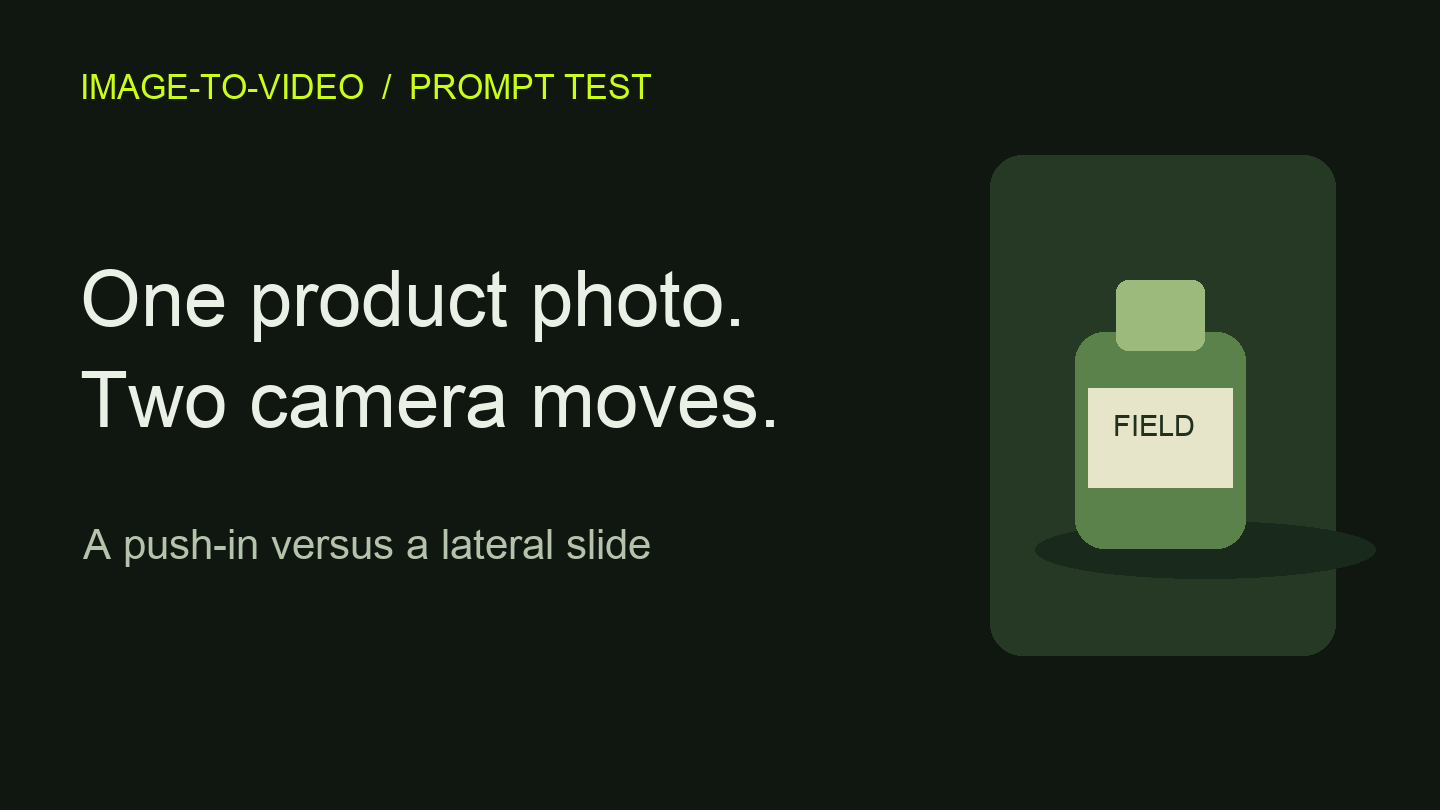

A slow push-in brings the product closer. A lateral slide moves the viewpoint sideways and can reveal more of the space around it. In image-to-video, both requests can produce unwanted changes: a crooked cap, a rewritten label, or a table that bends as the camera moves. Try both moves on the same reference photo before choosing one for a product clip.
Set up a fair comparison
Start with a front-facing photo of a labeled bottle, or any product with a recognizable outline and a clear label. Leave some room around the product for motion. Save the exact crop you want to use and upload that same file for both runs.
Keep the model, duration, aspect ratio, and other generation settings the same. Use the same seed if your tool exposes one. These choices help you compare the two instructions, but even a fixed seed does not guarantee the resulting clips will differ only in camera motion.
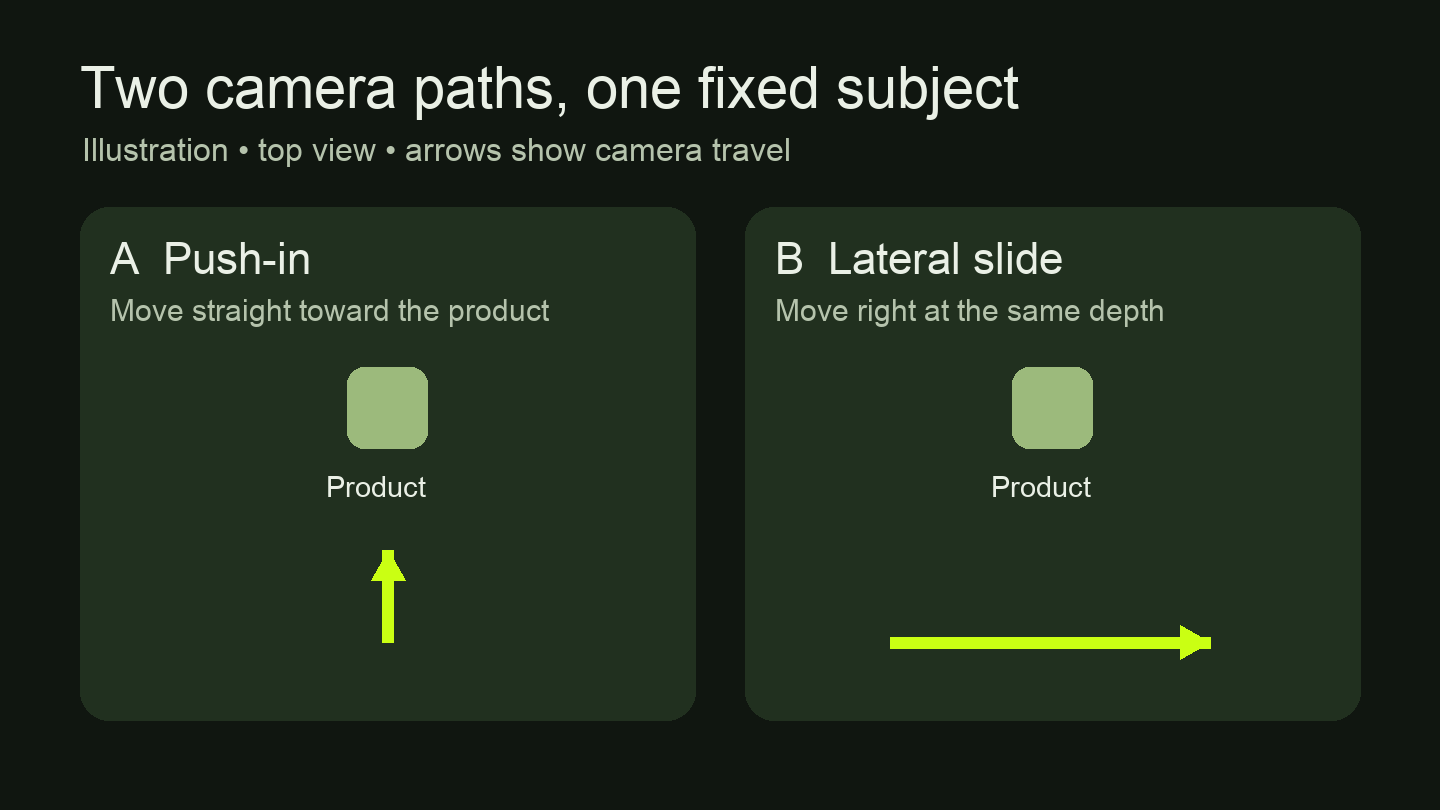
Top view comparing a camera moving toward a fixed product with a camera sliding right at a fixed depth
Illustrated camera paths. The arrows show the intended movement; they are not frames from a generated clip.
Change one sentence
Use the same first three sentences in each prompt. The fourth sentence is the camera instruction. These are example prompts to try, not descriptions of tested results.
A: Push-in
Use the supplied image as the starting frame. The bottle remains stationary and upright on the tabletop. Preserve its silhouette, cap, label lettering, and the lighting and background. Move the camera slowly straight toward the bottle without tilting or rotating.
B: Lateral slide
Use the supplied image as the starting frame. The bottle remains stationary and upright on the tabletop. Preserve its silhouette, cap, label lettering, and the lighting and background. Move the camera slowly to the right at a fixed depth and height without tilting or rotating.
A push-in should read as forward travel. In a lateral slide, the bottle can shift in the frame while the camera travels sideways; that is different from the bottle itself sliding across the tabletop. If the move is hard to read, watch how the bottle's position changes relative to an edge or seam behind it.
Check shape, label, and background
Play each clip at normal speed, then pause near the middle and end. Compare those frames with your source photo.
Shape: Do the cap, shoulders, and base keep their proportions? Getting larger in frame during a push-in is expected; a cap changing width relative to the bottle is a warning sign.
Label: Does the wording stay legible, with the same letters and placement? A sharp but rewritten label still fails this check.
Background: Do straight edges remain straight? Some relative motion is expected as the viewpoint changes, but bending lines or flickering textures can distract from the product.
If the label matters for a real listing and neither clip preserves it, keep the original still or retry with less travel. If both pass, choose the move that serves the shot: a push-in for a detail, or a slide when the setting adds useful context.
Record the reason you chose it
Keep the source image, both prompt versions, and a short decision note. For example: “A selected for label detail; B rejected because the table edge bent near the end.” This is a sample decision note. If one run looks unlucky and the decision matters, repeat both variants with the same settings before drawing a conclusion.
A folder with two clips and a text file is enough. If you prefer keeping the shared reference and both prompt branches visible together, the AI Canvas in Max Maker AI is an optional Beta workspace for prompts, references, and video outputs. Explore Max Maker AI.




Top comments (0)