
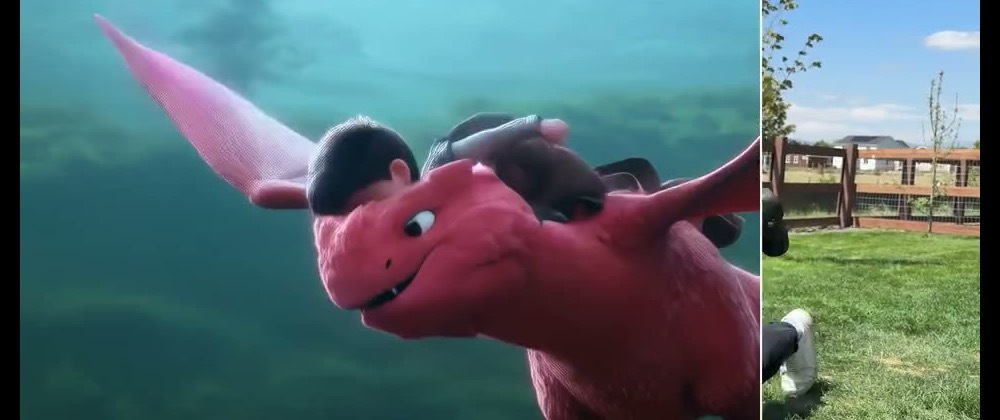

A useful video editing experiment begins with a question you can answer. Does warmer lighting make a demonstration easier to follow? Would a quieter background keep attention on the presenter? Could a different visual style help a short sequence fit the rest of a project? These questions are more productive than asking a model to make everything cinematic. They describe an observable change, which gives you a fair way to judge the result.
Prompt-driven transformation is especially interesting when the source recording already contains the right action. Instead of replacing the entire production process, it can provide alternative treatments of that recording. The workflow below concentrates on comparison, careful review, and clear file management rather than promising that every generated version will be ready to publish.
Define the parts of the recording that matter
Before choosing an effect, write down what the clip must communicate. In a product demonstration, that could be the sequence of three hand movements. In an educational video, it might be the position of an object relative to a diagram. In a social introduction, the important element could be the presenter's expression. These are your protected details: if a transformation changes them enough to confuse the viewer, the output fails even when it looks attractive.
Separate those details from elements you are happy to change. Wall color, background scenery, overall palette, and apparent time of day may be flexible. Having two lists prevents an impressive visual change from distracting you from a factual mistake. It also helps another reviewer understand what the finished clip is supposed to preserve.
Choose an uncomplicated first example
Begin with a short recording that has one clear subject and an easy-to-follow action. A fixed camera and reasonably even lighting make comparisons simpler. Complex footage is not automatically unusable, but it creates more variables: a blur might come from the recording, the transformation, or the export. A simpler first example makes the cause easier to identify.
Keep the original file in a separate folder before you experiment. Give it a descriptive name containing the scene and take number. If you need to trim the clip, create a working copy rather than overwriting the source. This small habit makes it possible to restart an experiment without wondering which version contains the original timing or framing.
Match the mode to the question
Different transformation modes answer different creative questions. Style transfer is appropriate when you want to explore a visual treatment. A background change focuses on the environment around the subject. Relighting addresses how a scene appears to be illuminated. Character changes and camera-angle changes are more substantial interventions, so they deserve particularly careful review for continuity and representation.
A browser-based option such as Video to Video AI accepts a short source clip and a text prompt to create video variations. Its described modes include style transfer, background changing, character swapping, relighting, camera-angle changes, motion control, and generating a separate continuation clip. Choose a mode because it serves the experiment, not simply because another option is available.
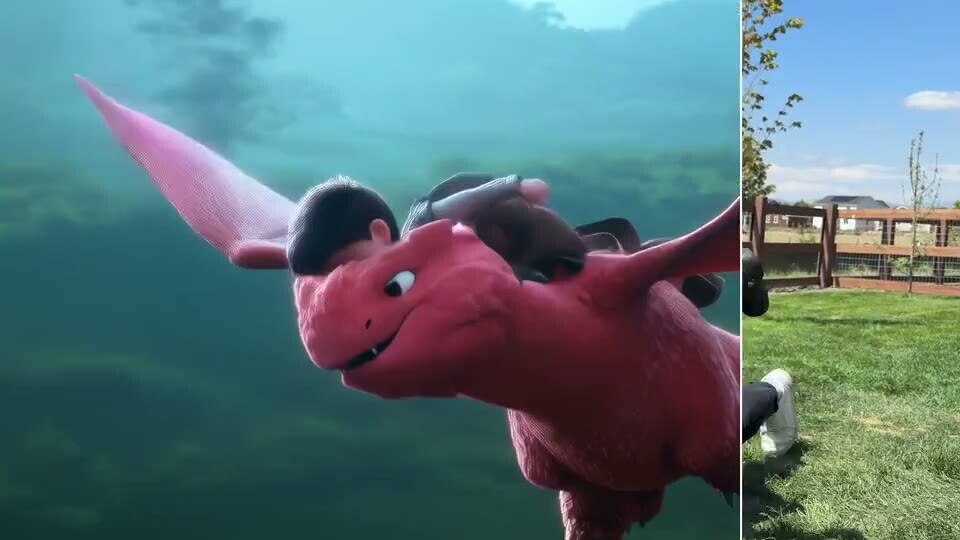
Restyling is one possible treatment; review the actual generated motion separately from any illustrative image.
Write one testable instruction
A practical prompt names the requested change and the features that should stay recognizable. For example: give the room soft evening light while keeping the speaker, clothing, and camera framing consistent. This is not a guarantee that every feature will survive unchanged. It is a specification against which to compare the output.
Avoid loading the first prompt with several unrelated ideas. Changing the setting, identity, lighting, and camera angle simultaneously makes it hard to know which instruction caused a problem. Start with one major change. If that result is useful, a later experiment can test another. Save the exact prompt alongside the output so that memory does not become your only record of the process.
Plan a small comparison set
Three deliberate candidates are often more informative than a large collection of unrelated variations. For a lighting experiment, you might compare neutral daylight, a warmer evening treatment, and a softer studio-like appearance. Keep the source and intended action consistent. This allows a reviewer to focus on the variable you actually wanted to test.
Record a short reason for each candidate. One may be intended for an instructional page, another for an introductory social clip. These purposes can lead to different choices without making either version objectively superior. Avoid treating a larger number of generated files as evidence of progress; the useful outcome is a version that passes your specific communication and quality checks.
Review movement, not just representative frames
A still frame can hide problems that become obvious during playback. Watch each clip at normal speed before pausing to inspect details. Pay attention to the boundaries of the subject, the way shadows move, and any objects being held. If an object changes shape between frames, the visual effect may distract from the explanation even when the opening image looks convincing.
Then inspect the elements from your protected-details list. Check that an important gesture remains legible and that any necessary text can still be read. Generated treatments can alter lettering, small accessories, faces, or other fine details. Do not assume an unchanged prompt means unchanged content. Reject misleading changes or return to the untouched recording when accurate depiction is essential.
Handle continuations as new editorial material
A generated follow-up is not evidence of what happened after the camera stopped. Treat it as constructed material, with the same care you would give any synthetic scene. If you use a continuation feature that delivers a separate clip, retain it as a separate asset during review. Check the transition, direction of motion, lighting, and subject position before placing it next to the source.
This distinction matters in teaching, reporting, and demonstrations. A continuation could imply a result that was never recorded. Where that implication would mislead viewers, avoid it or make the illustrative nature clear. Keeping generated assets separate from original footage makes those editorial decisions more visible to everyone involved.
Export for the intended viewing conditions
Choose the output format and resolution with the final destination in mind. The tool described here offers private 720p or 1080p variations, but resolution alone does not determine whether a clip works. Framing, compression, motion clarity, and readability can matter more than additional pixels. Review the downloaded file, not only a preview inside an editing interface.
Check the clip on a phone if most viewers will see it there. Watch without sound once to judge whether the action is understandable, and with sound to assess timing if audio is part of the edit. Keep a simple final checklist: the message is accurate, protected details remain usable, movement is acceptable, and the file is clearly labeled.
Keep only the lessons you can support
At the end of the session, write a short note describing what worked for this particular source. Perhaps a restrained lighting prompt was clearer than a dramatic one, or a background change introduced distracting edges. These are observations, not universal rules. Another recording may behave differently.
A dependable workflow combines a clear purpose, a preserved source, a small comparison set, and a disciplined review. Prompt-based editing becomes useful when it helps answer a concrete production question. The goal is not to transform every clip. It is to recognize when a controlled variation improves the explanation, and when the original footage remains the better choice.




Top comments (0)