
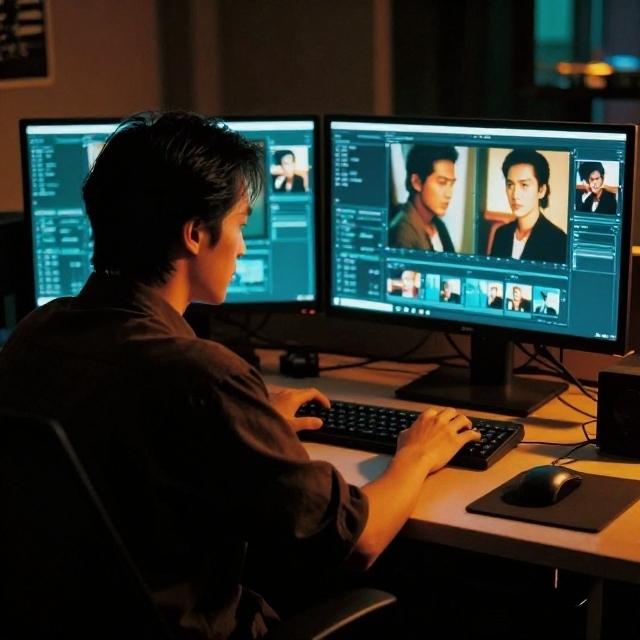
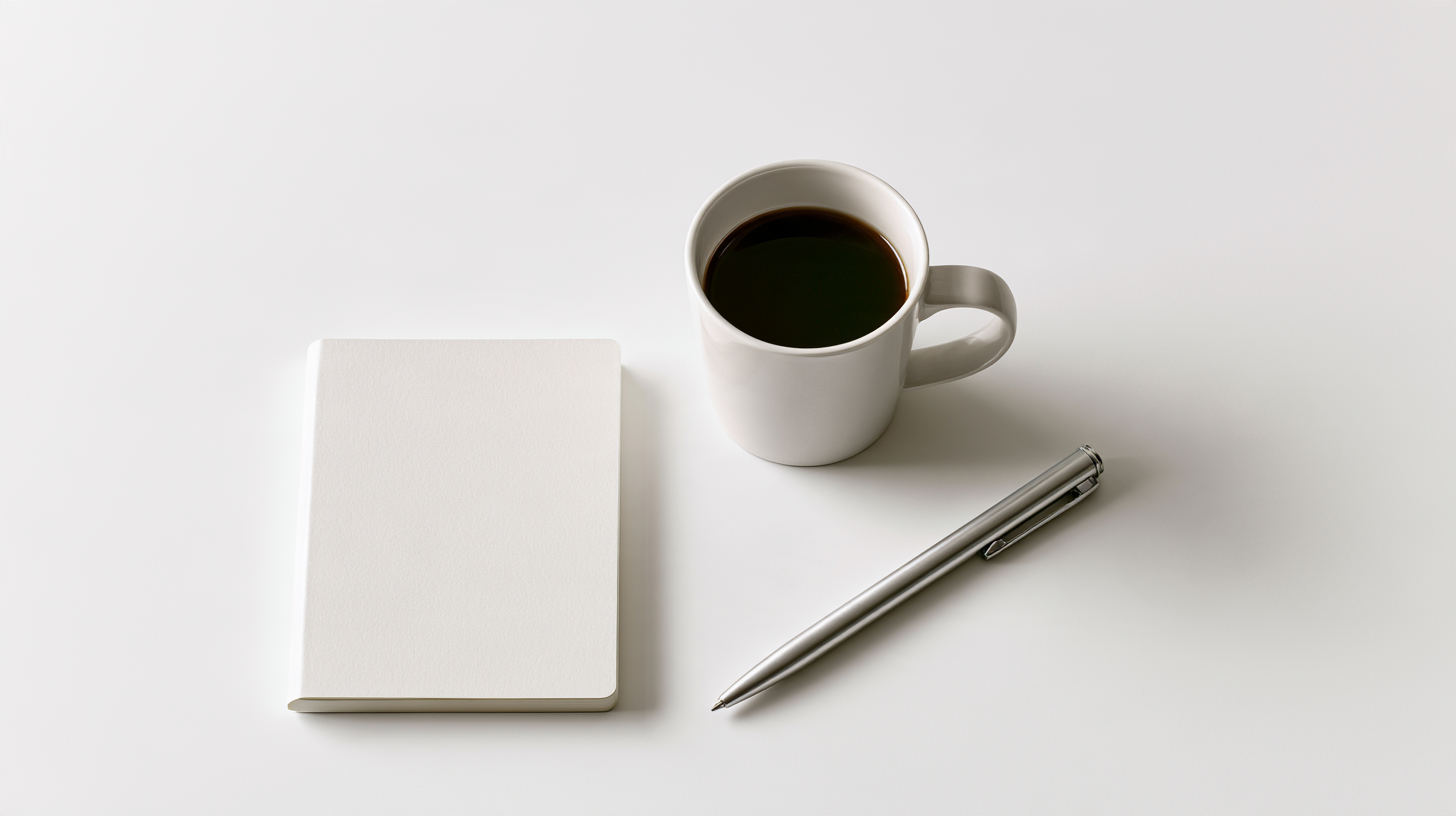
Caption: Pale props can easily lose their edges against a pure white backdrop during motion—always run a contrast check before finalizing tutorial clips.
A clean white backdrop can expose an awkward problem in AI-generated video: pale props easily blend into the background. A white mug, paper card, or light sleeve can lose its edges or flicker mid-motion—always check this before adding the clip to a tutorial.
1. Plan a contrast test
Start with a controlled baseline prompt before generating your final scene:
"Fixed camera, person holding a pale paper card beside a darker object, even studio lighting, restrained motion, clean white backdrop."
Use this description to run a test, then document what the generator actually produced. Models often alter the object's shape, framing, or motion physics on their own—log those discrepancies in your review.
2. Follow the pale edge
When reviewing a white background video, pay close attention to moving boundaries rather than trusting a single good frame:
- Inspect the timeline: Check the card's corners and the fingers holding it at the beginning, middle, and end of the clip. A clean still frame does not guarantee a stable sequence.
- Verify text and markings: If the pale object carries instructions or labels, ensure the lettering stays consistent. A neat silhouette means nothing if the text warps into gibberish.
- Plan for accessibility: For tutorial clips, visual clarity also requires clear explanation. Following W3C accessible media guidance, plan your captions and descriptions of meaningful visual details before the final export.
Caption: Inspecting the start, middle, and end frames helps catch mid-motion edge bleeding and text warping that a single still frame might miss.
3. Record one decision per iteration
Keep the raw source clip side-by-side with the processed version for a direct comparison, and follow a strict debugging rule:
- Log the timecode where edge bleeding or warping first appears.
- Save two reference frames: Keep both the first failed frame and the best frame. This gives your next prompt revision a concrete visual problem to fix instead of a vague request for "better edges."
- Change one variable at a time: Decide whether your next test adjusts the prop (e.g., adding a colored border), the lighting, or the backdrop—never change all three at once, or your comparison loses value.





Top comments (0)